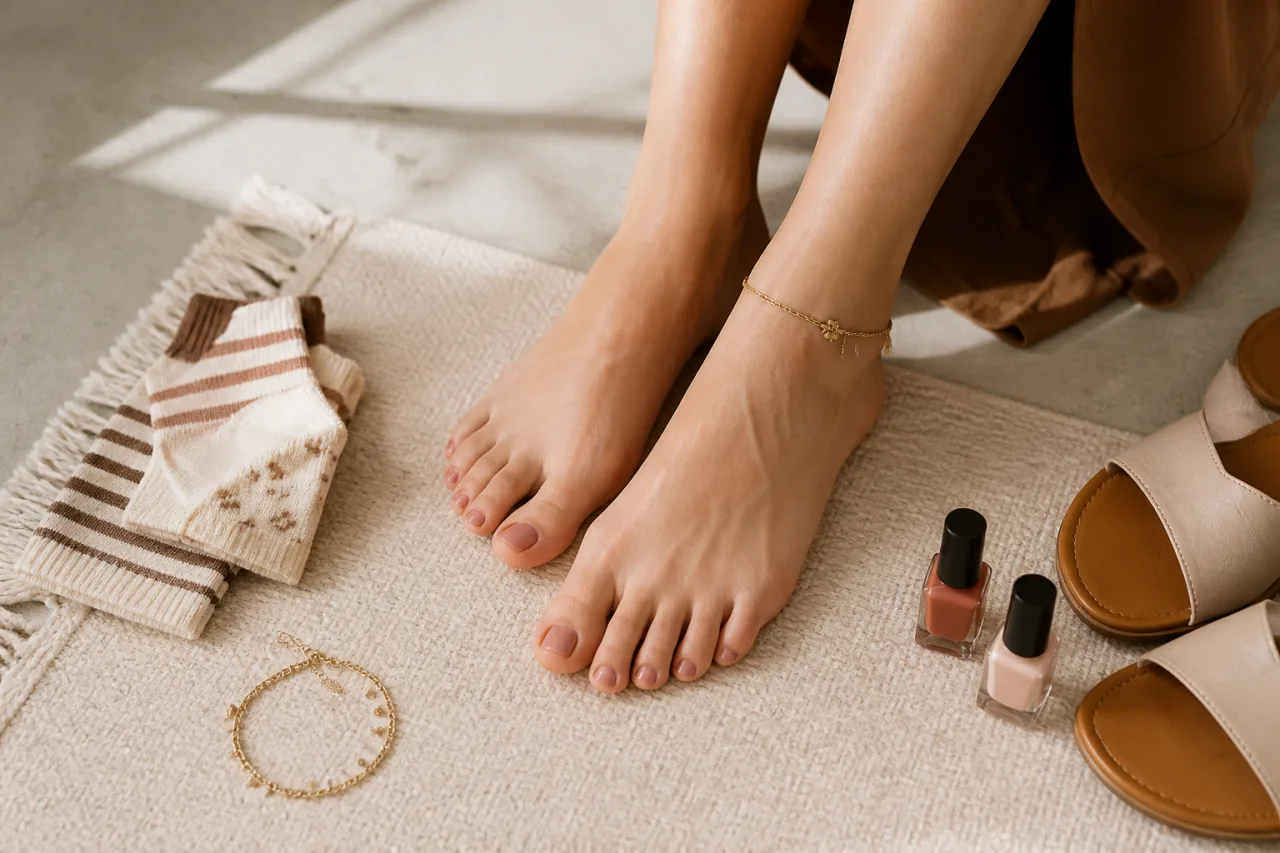
“Cute feet” isn’t much of a niche—and it gives buyers little reason to remember one profile over another. A tighter idea, such as natural soles in macro close-ups, minimalist anklet sets or post-workout recovery shots, creates a clearer visual promise.
That doesn’t mean choosing the narrowest label and waiting for sales. Demand varies, likes can mislead, and a distinctive concept may be awkward or expensive to produce every week. The useful niche is one you’re comfortable creating, can repeat without overspending and can test without exposing personal details.
Below, you’ll find 27 specific feet pic micro niches, plus practical ways to frame, style, test and package them. Start with two or three compatible options, track real enquiries and purchases for two to four weeks, then let the evidence—not guesswork—shape your next set.
What makes a feet pics micro niche worth pursuing?
A feet pics micro niche is a recognisable combination of physical features, styling, setting and photographic format. It’s more precise than a broad description such as “cute feet” or “pretty toes,” which could mean almost anything to a buyer scrolling through dozens of profiles.
For example, “high arches” is a starting point, but it becomes a clearer micro niche when paired with neutral polish, soft window light and consistent side-profile close-ups. Likewise, “feet in socks” is still broad. A collection focused on colourful ankle socks, cosy bedroom settings and three-image removal sequences has a much more identifiable visual promise.
Not every element has to change. In fact, the strongest niches usually keep two or three things consistent. A seller might use the same type of lighting and framing while changing polish colours, accessories or backgrounds. That repetition gives the profile an identity without making every set look like a duplicate.
Specificity also makes a profile easier to browse. Buyers can quickly understand what they’re likely to find, rather than opening unrelated sets with no common thread. Clear grouping helps too: titles such as “Bare Soles in Natural Light” or “Red Pedicure Close-Ups” communicate far more than numbered uploads like “Set 12.”
It also improves recall. Someone may not remember a username after one visit, but they might remember “the profile with matching silver toe rings and dark studio backgrounds.” That mental shortcut matters in a crowded marketplace, especially when several sellers offer similar physical features.
Here’s the thing, though: being highly specific doesn’t create demand by itself. A niche can look distinctive and still attract few paying buyers. Some ideas are visually interesting but too awkward to produce regularly; others draw attention without leading to purchases. A very narrow concept may also run out of useful variations after two or three sets.
Think of a micro niche as a testable editorial direction, not a permanent identity. You may need to try several combinations before finding one that produces repeat enquiries or sales. The worthwhile angle is usually the one buyers can recognise, you can reproduce without unreasonable effort, and you can vary enough to keep future sets genuinely different.
How to choose a niche you can sustain
A good niche has to fit your actual life, not an imagined version where you own endless props and have three hours for every shoot. Before committing, list the space, lighting, accessories and preparation time you already have. A simple setup you can reproduce twice a month is more useful than an elaborate concept you’ll abandon after one set.
Start with features you already have
Look for natural characteristics that photograph clearly: pronounced arches, long toes, textured soles, a distinctive tattoo or consistently neat pedicures. Then consider what’s already in your wardrobe or bathroom cabinet. A few pairs of socks, two polish colours and a plain chair may support several related ideas without another shopping trip.
Your shooting space matters too. Macro details can work beside a bright window, while footwear sequences need enough room for full-foot framing. If you only have 30 minutes and a small neutral corner, don’t choose concepts requiring a filled bath, complex nail art or travel to an outdoor location.
Set non-negotiable boundaries first
Decide what you won’t show before assessing possible demand. That might include your face, tattoos, home interior, workplace, outdoor surroundings or any pose that feels too revealing. Also set limits around custom requests, direct communication and how much identifying information you’re prepared to share.
Comfort isn’t something to “work up to” for a promising niche. If an idea scores poorly because it feels awkward, physically uncomfortable or too recognisable, remove it from the shortlist. You need to be comfortable creating and accurately previewing the same type of content more than once.
Check whether the idea is repeatable
Score each possible niche from 1 to 5 across these five factors:
- Demand signals: Is there visible interest in similar content?
- Personal comfort: Could you publish it without second-guessing your boundaries?
- Repeatability: Can you plan at least five genuinely different sets?
- Setup cost: Give 5 points to ideas using what you own and 1 to expensive setups.
- Visual distinctiveness: Would the previews be recognisable beside comparable listings?
Don’t automatically pick the highest total. A niche scoring 22 out of 25 but only 2 for comfort is a poor choice. Look for balanced options that suit your time and surroundings.
Choose two or three compatible niches, not all 27 at once. Natural soles, macro details and cosy at-home styling can share one setup; elaborate pedicures, beach scenes and footwear try-ons usually can’t. A tight combination makes planning easier while leaving enough variety to learn what’s practical.
Seven appearance-based feet pic niches
Soles, arches, toes and heels
1. Sole and skin texture: Frame both soles straight-on, then add close crops of the ball, instep and heel. Soft side lighting reveals fine lines and texture; direct flash creates a sharper, more graphic look. Variations might include smooth moisturised skin, post-bath softness or naturally textured soles. Keep retouching light—removing every crease changes the feature buyers came to see.
2. High, medium or low arches: Side profiles show arch height most clearly. Shoot at floor level with the foot relaxed, then repeat with the toes pointed or the heel slightly raised. A lamp placed at roughly 45 degrees creates a useful shadow beneath the arch without making it look deeper than it is.
3. Toe shapes and lengths: Greek, Egyptian, square and evenly graduated toe shapes can each form a recognisable niche. Use an overhead frame with the camera parallel to the toes, plus closer shots showing natural spacing, curled toes and gently pointed poses. Even lighting matters here because a wide-angle lens or steep camera angle can distort relative lengths.
4. Heel close-ups: Fill most of the frame with the heel rather than treating it as a background detail. Try rear, side and underside angles under diffused window light. Useful variations include bare dry heels, freshly moisturised skin and the natural folds created by lifting the foot—provided the description accurately reflects the condition shown.
Distinctive marks and natural details
5. Tattoos, freckles, scars or birthmarks: These features work best with simple backgrounds and close, sharply focused framing. Photograph the mark straight-on, then show its position in a wider full-foot image. Neutral daylight usually preserves ink and skin colour better than coloured LEDs. Don’t erase, enlarge or recolour a defining mark; previews should match the delivered set.
Natural nails versus polished pedicures
6. Natural, unpolished feet: Clean, bare nails and unedited skin appeal to buyers who prefer an everyday look. Use soft daylight, neutral bedding or a plain floor, and vary nail-length close-ups with relaxed full-foot poses. “Natural” shouldn’t mean neglected: tidy edges and clean skin still photograph better.
7. Fresh pedicure details: Capture polish shine, cuticle work and crisp edges with macro shots and angled light. Build variations around one pedicure: both feet, individual toes, top-down views and side profiles. Colour correction is fine, but don’t digitally hide chips, change the polish shade or reshape the nails so heavily that the final images differ from the preview.
Seven styling and accessory micro niches
Polish colours and nail art
Single-colour polish collections are simple to repeat without making every set look identical. Build a 12-image set around one shade, photographed in three lighting setups: soft window light, warm lamplight and direct flash. Add wide shots, toe close-ups and a bottle-in-frame detail so the colour remains the clear theme.
Check the finish before shooting. Chipped edges and polish on the surrounding skin are especially obvious in close-ups. If you’re testing demand, start with colours you already own rather than buying ten nearly identical bottles; polish, remover, cotton pads and pedicure time all count as production costs.
Detailed nail art offers more visual specificity: tiny flowers, chrome finishes, French tips, seasonal patterns or a different design on each toe. Photograph the artwork straight on, from a low side angle and in one macro detail. Intricate designs can take an hour or require a salon appointment, so honestly, they’re poor experiments if you haven’t seen any interest yet.
Jewellery, socks and hosiery
Anklets work best when the jewellery stays visible rather than disappearing into a busy background. Try one set with the chain centred above the ankle, another with it falling loosely toward the heel, and a close-up of the clasp or charm. Avoid showing engraved initials or jewellery that people offline strongly associate with you.
Toe rings suit tighter compositions. A useful sequence shows the ring worn, being adjusted and staged beside the foot. Cheap metals can stain or irritate skin, so check the material and don’t force a ring that feels tight.
Socks can be organised by a recognisable feature: ribbed cotton, bright stripes, novelty prints, knee-high styles or coordinated pairs. Shoot them freshly laundered unless the listing explicitly and lawfully states otherwise. Keep used garments sealed away from clean stock and follow the marketplace’s rules on wearable items.
Hosiery includes sheer tights, patterned tights, fishnets and stockings. Show the texture at three distances: full lower-leg view, ankle framing and close detail across the toes. Snags appear quickly under hard light, and replacing delicate pairs can turn a seemingly cheap niche into a recurring expense.
Footwear try-ons
Footwear try-ons can focus on one category, such as heels, sandals, trainers or boots. Plan a sequence showing the shoes neatly staged, fully on-foot, viewed from both sides, partly removed and placed beside the feet. Clean insoles and soles first, but don’t damage materials with unsuitable disinfectants.
Use shoes you already own for the first two or three sets. Buying multiple sizes, colours or designer pairs before demand is proven ties up money fast, and returns may not be possible after indoor try-on photography.
Seven setting and lifestyle niches
Home, spa and everyday scenes
Cosy at-home sets work best when they look lived-in rather than staged within an inch of their life. Try a knitted throw, neutral rug and ceramic mug, using two or three related colours such as cream, rust and warm brown. Avoid random clutter; one book and a pair of slippers tell the story better than ten unrelated props.
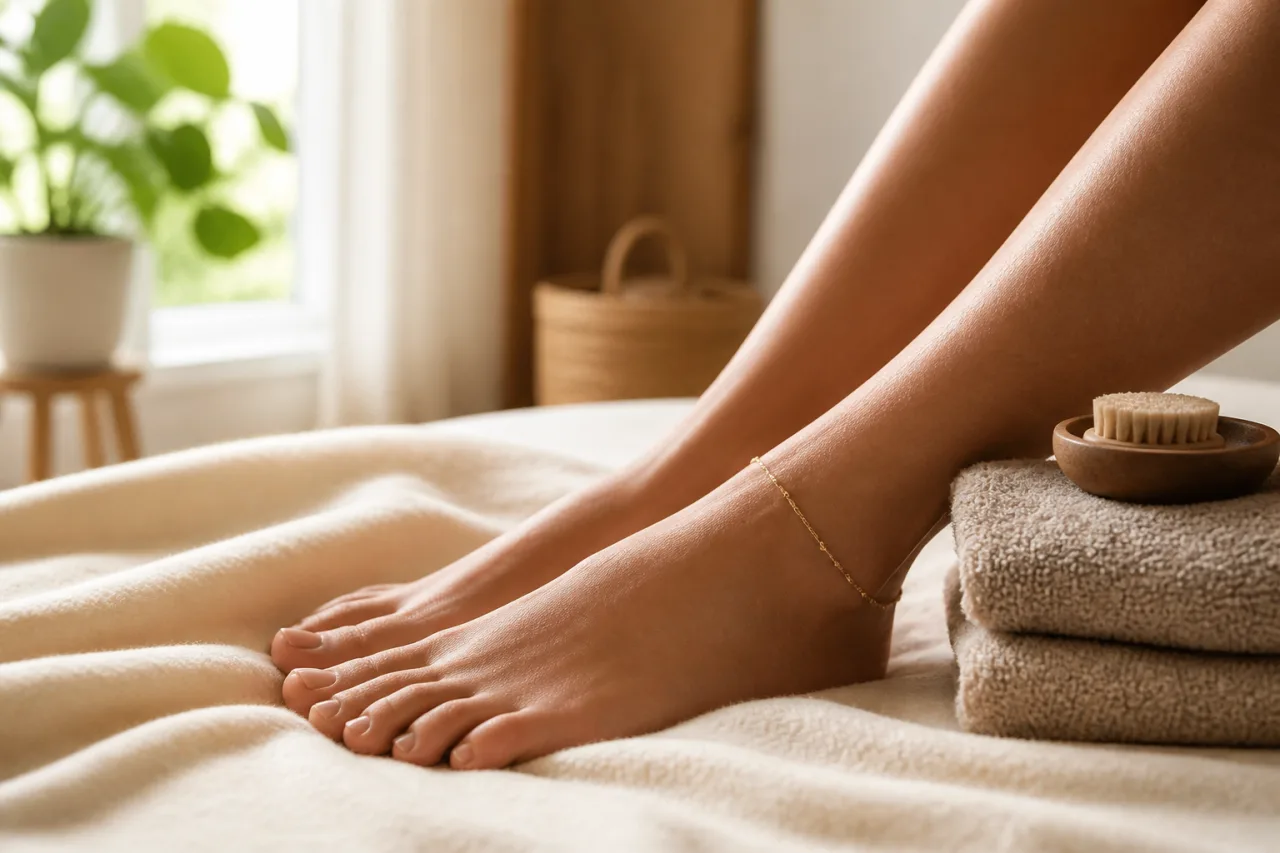
For a bath or spa niche, build the scene around folded towels, a wooden bath tray, soft candlelight or a bowl of water with petals. White, pale blue and eucalyptus green create a clean spa look, while amber bottles suit warmer styling. Keep electrical lights away from water, choose non-slip poses and check taps or chrome fixtures for reflections.
A desk or coffee-break set can include a laptop edge, notebook, plain takeaway cup and feet resting on a stool beneath the desk. Repeat one accent colour across the mug, polish and notebook cover. Before shooting, remove mail, work passes, prescription labels, calendar entries and screens showing names, messages or company details.
Fitness, beach and outdoor scenes
Post-workout recovery is more convincing with a rolled yoga mat, clean towel, foam roller and water bottle than with a pile of gym equipment. Charcoal, black and one bright accent give the set a clear athletic identity. If you shoot at a gym, don’t capture other members, branded access cards or mirrored views of your face.
For beach and sand sets, plan a simple sequence: clean feet on a towel, toes in dry sand, then wet feet at the waterline. A striped towel, plain sandals and one shell are enough. Watch for hotel names, distinctive piers, lifeguard signs and geotagging clues; even a recognisable coastline may narrow down your location.
Outdoor nature scenes can use moss, autumn leaves, smooth stones or a picnic blanket, but protect your skin from sharp ground, insects and hot surfaces. Match colours to the setting—earthy green and brown for woodland, muted grey and blue for rocks. Street signs, house numbers, car plates and unique garden features should stay outside the frame.
Seasonal and holiday concepts
Seasonal sets are easiest to repeat when props remain simple: pastel fabric and painted eggs for spring, orange leaves for autumn, or red socks beside plain gift wrap in December. Pick one holiday palette and stick to it instead of mixing every decoration you own. Check mirrors, windows and shiny baubles carefully; they can reveal your face, room layout, neighbouring buildings or the person taking the photo.
Six format and audience niches that rely on consistency
Measurements, symmetry and repeatable poses
22. Measurement and size-reference images. This format documents foot length, width, toe length or arch height using a ruler, tape measure or measurement grid. Shoot straight down with the camera level, keep the heel aligned to the same starting point and include both centimetres and inches where practical. Don’t claim a shoe size that the images don’t support; sizing varies between brands and countries.
23. Symmetrical matching poses. Paired soles, mirrored toe points and evenly crossed ankles appeal to buyers who prefer orderly compositions. Mark foot and tripod positions with removable tape so you can reproduce the framing later. Small differences become obvious in symmetrical work, so check toe placement, shadows and the distance from each foot to the frame edge.
Sequences and macro photography
24. Short visual story sequences. Build a set around one simple action rather than ten unrelated poses. A five-image sequence might show socks on, heels lifting, socks partly removed, bare feet revealed and the socks folded beside them. Keep the lighting, crop and colour treatment unchanged so the sequence feels intentional instead of looking like pictures pulled from different shoots.
25. Macro detail photography. Close studies of polish texture, skin lines, water droplets, jewellery or the edge of a heel can form a recognisable niche. Macro work is unforgiving: dust, chipped polish and heavy sharpening all show. Use a fixed focus distance, soft side lighting and a repeatable crop. Include at least one wider reference shot so buyers can understand where the detail sits.
Male and mature-adult niches
26. Male feet. The positioning may focus on broader feet, natural hair, practical footwear or a less polished presentation, but there’s no single “male” look. Accurate descriptions work better than stereotypes. A consistent camera height and neutral editing can make natural differences in size, shape and texture the main visual feature.
27. Mature-adult feet. This niche can honestly present visible signs of adulthood, such as natural texture, veins or age-related skin changes, without smoothing them away. Demographic labels must involve consenting adults only. Never imply that someone is younger than 18, use deceptive age claims or tag an adult with language designed to suggest otherwise.
For both audience-led niches, consistency is the real advantage. Repeating the same three angles, including a known scale reference and using one restrained editing preset gives buyers a reliable basis for comparing sets without misrepresenting the person pictured.
How to test niche demand without relying on guesswork
You don’t need an expensive stack of props to validate an idea. Start with research, then run a small comparison using content you can produce with what you already own.
Run a controlled three-niche test
Choose three niches that require roughly equal effort. For example, test natural soles, red-polish close-ups and cosy sock sets rather than comparing a simple five-photo set with an elaborate beach shoot.
First, type relevant terms into marketplace search bars and note autocomplete suggestions, category sizes and the number of recent listings. Treat these figures cautiously. Lots of results may indicate active buying, heavy seller competition or simply an oversupplied category. Search volume and sales aren’t the same thing.
Next, read public discussions on Reddit, forums and social platforms. Look for recurring language, complaints and specific requests. Observe rather than dropping promotional links into conversations or sending unsolicited messages; spam produces poor evidence and can get your accounts restricted.
Run the actual test for two to four weeks. Publish comparable previews for all three niches, using the same posting frequency, similar image quality and equal set sizes. Keep prices identical, or close enough that price isn’t the obvious reason one option performs better.
Track signals that connect to revenue
Record each result separately in a basic spreadsheet:
- preview views or impressions;
- likes and comments;
- saves, favourites or wish-list additions;
- enquiries about the advertised set;
- custom requests; and
- completed purchases.
Likes are weak evidence. People tap a heart because an image is attractive, amusing or already visible in their feed; they haven’t necessarily shown an intention to pay. Saves and relevant enquiries are more useful, while completed purchases are the clearest signal.
Don’t lump custom requests into ordinary sales. One buyer asking for green polish with a particular pose may be offering a worthwhile job, but that doesn’t prove there’s repeat demand for an entire green-polish niche.
Know when to refine or drop an idea
Compare conversion patterns, not just raw attention. A niche with 300 views, eight saves and two purchases is more promising than one with 1,500 views, 90 likes and no enquiries.
If a niche earns saves but no sales, test one controlled change: improve the preview, clarify the description or adjust the set composition. If it still trails after a second comparable test, pause it. Keep the original files and notes, though. Seasonal timing, weak reach or crowded search results can make a decent idea look worse than it is.
Turn a micro niche into a coherent product
A sellable set needs one clear visual promise, such as “natural soles photographed in soft window light” or “red pedicure with gold anklet details.” Decide that promise before shooting. If the concept can’t be described in one sentence, the finished gallery may feel like unrelated leftovers.
Build a 10-shot set with real variation
Write the shot list first. For a 10-image set, try one hero image, two full-foot angles, two sole views, two side profiles, two close-up details and one wider scene-setting frame. Change the distance, composition or pose each time; moving a toe slightly doesn’t create a genuinely different photo.
Keep lighting, white balance, crop style and skin tones consistent across the set. Batch-editing helps, but check every image individually for blown highlights, odd colour shifts and distracting lint or polish smudges. Retouch temporary distractions if you choose, but don’t reshape defining features.
Select two or three previews that represent the whole product: usually the strongest full view, one detail and one alternative angle. Don’t use ten nearly identical close-ups just because they’re technically sharp. Honest variety makes a smaller set feel more considered.
Write specific, accurate listing descriptions
State the image count, niche, styling, setting, key angles, file format and approximate resolution. Mention anything a buyer could reasonably misunderstand. “10 high-resolution JPEGs featuring natural, unpolished feet, including four sole-focused images” is far more useful than “exclusive cute foot set.”
Related sets can become a bundle, provided the bundle description lists exactly what’s included and doesn’t disguise repeated images as new content. Custom work can be offered separately with written boundaries covering poses, props, delivery time, revision limits and whether the images may later be resold. It’s optional, not an obligation.
Calculate net earnings before setting a price
Your pricing floor should begin with labour. Add preparation, setup, shooting, editing, uploading and buyer communication time, then multiply the total hours by your minimum acceptable hourly return. Add consumable props, polish, laundry, travel and any fixed payment fees.
Next, account for percentage-based marketplace or payment commission and taxes. A practical formula is:
Minimum gross price = (labour target + direct costs + fixed fees + tax reserve) ÷ (1 − commission rate)
For example, if a set takes 2.5 hours, don’t price it as 30 minutes of camera time. Use your own required hourly return, actual commission rate and local tax obligations. Honestly, a set that can’t clear that floor needs a cheaper production plan, a bundle strategy or a different concept—not wishful maths.
Privacy, consent and platform rules come before the niche
Only consenting adults may create or appear in content. If another person’s feet, voice, reflection or belongings enter the frame, get clear permission before publishing. Review the marketplace’s current terms as well, including rules on age verification, permitted content, custom orders, off-platform contact and payment methods; policies can change.
Use a separate creator name and email address that aren’t connected to personal social accounts. Anonymity can be strengthened, but never guaranteed. A determined buyer may connect small clues across images, messages and public profiles, so treat every upload as something that could eventually circulate beyond its intended audience.
Sanitise files and shooting spaces
Before uploading, remove EXIF and location metadata using your phone’s privacy settings or a reputable metadata-removal tool. Check the cleaned file rather than assuming an app stripped it automatically. A practical routine is: export the image, remove metadata, reopen it, inspect it at full size, then upload that copy.
Look closely at mirrors, windows, taps, glossy furniture and even pupils reflected in close shots. Backgrounds can expose mail, family photographs, work badges, street views, school logos or a recognisable home interior. Avoid shooting near your workplace or showing details that reveal your address, regular commute or daily schedule.
Consider covering distinctive tattoos, birthmarks or jewellery if they could identify you. Watermarks can discourage casual reposting and help establish the source, but they don’t prevent screenshots, cropping or theft.
Keep payments and communication traceable
Keep buyer conversations and payments inside the platform where possible. Don’t switch to disappearing messages simply because someone offers more money. Save order details, agreed deliverables, deadlines, payment confirmation and any refund or dispute messages in one organised folder.
Never share banking logins, verification codes, personal email addresses or documents directly with a buyer. Use only the platform’s approved age-verification and payment processes, and check what information appears on receipts or transaction statements before accepting orders.
Handle custom requests with written boundaries
Put custom terms in writing before taking payment: the number of images, clothing or props, poses, delivery date, revision limit and permitted usage. State your non-negotiable boundaries plainly. “No face, voice, outdoor location or personal items” is much harder to misinterpret than “keep it anonymous.”
If a request changes after payment, pause and document the new scope rather than improvising. You can decline anything that feels invasive, unsafe or outside platform rules. Extra money doesn’t turn an unwanted request into informed consent.
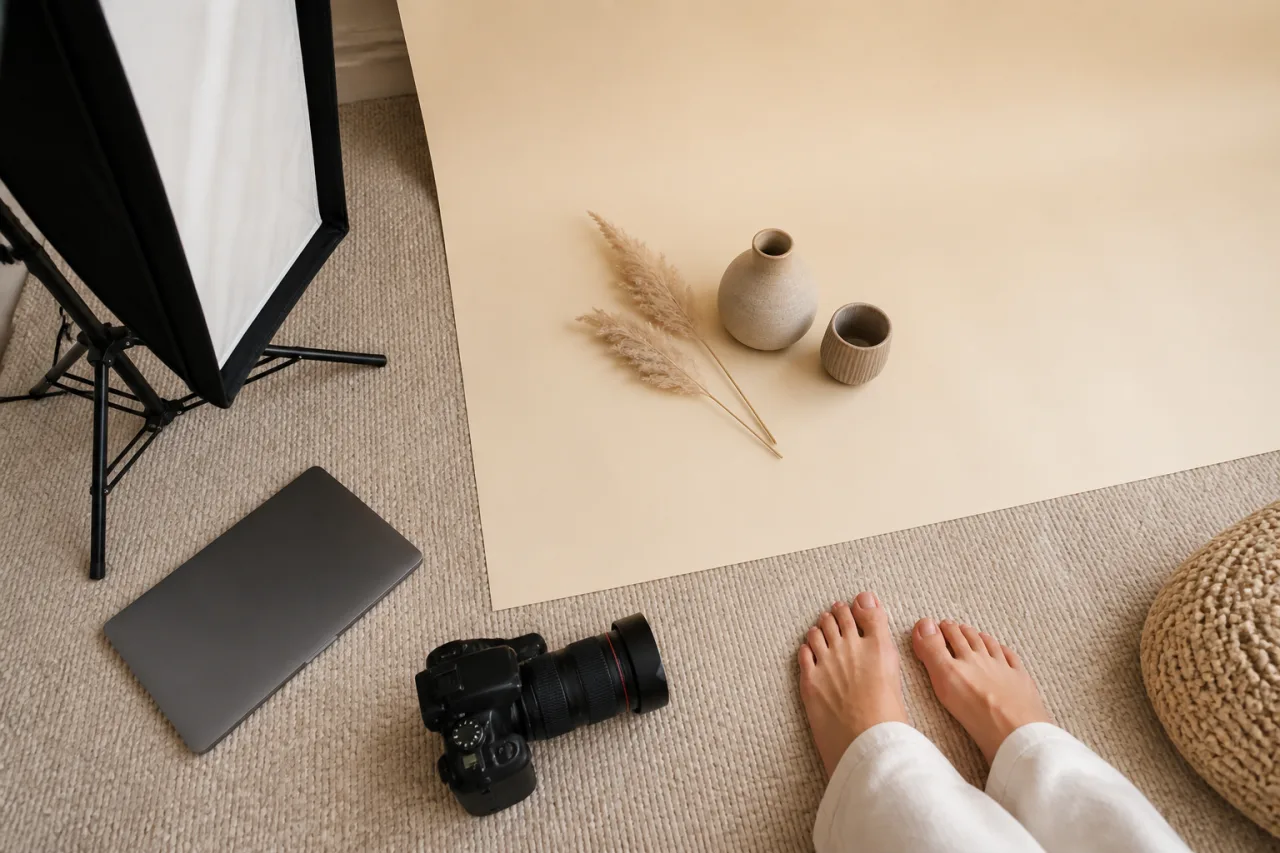
Common micro-niche mistakes that waste time or create risk
Chasing every trend is a fast way to build a profile that looks confused. One week it’s spa scenes, the next it’s muddy outdoor shots, then five unrelated seasonal sets. Constantly switching aesthetics also ruins your test data: if the lighting, styling, price and subject all change, you can’t tell what buyers actually responded to. Change one or two variables at a time.
Taking inspiration from another creator is normal. Copying their exact poses, colour palette, captions, props and set sequence isn’t. Apart from potential copyright or platform complaints, imitation makes your work easy to overlook. Borrow the underlying idea—a three-part footwear sequence, for example—then use your own setting, framing and visual details.
Props are another common money pit. A £45 pair of shoes, six polish colours and a stack of hosiery can wipe out the earnings from several sales before you’ve confirmed any interest. Start with what you own, buy one reusable item if needed, and let completed purchases justify further spending. The same restraint applies to shooting: a 20-image set shouldn’t contain 15 barely distinguishable frames.
Don’t underprice because a set took “only” 30 minutes to photograph. Preparation, cleanup, file selection, editing, uploading and customer messages count as labour too. A £12 sale isn’t £12 in your pocket once marketplace commission, payment charges, props and taxes are considered. Calculate the likely net amount before deciding that a request is worth your evening.
Misleading tags may attract extra clicks, but they bring the wrong audience and create disappointed buyers. Don’t label low arches as high arches, imply a pedicure is fresh when the images are months old, or use demographic terms that aren’t accurate. Excessive smoothing, reshaping or colour correction causes the same problem. If previews no longer represent the delivered files, trust disappears quickly.
Custom requests need a firm comfort test, not an automatic yes. Decline anything that feels degrading, unsafe, illegal, outside platform rules or likely to reveal more than you intended. Extra payment doesn’t cancel a boundary. Keep refusals brief; you don’t owe a stranger a detailed defence.
Finally, inspect the whole frame rather than staring only at the pose. Shipping labels, family photographs, work badges, prescription bottles, school logos and reflections in taps or glossy furniture can expose personal information. Even a distinctive view from a window may identify a building. Zoom into every corner before posting, including cropped previews and short video clips.
A practical checklist for choosing your first niche
Before publishing anything, run the idea through this checklist. It’s also useful if you’re building a private portfolio, practising photography or making sets you ultimately decide not to sell.
- Confirm age and consent. Every person shown must be an adult and must knowingly agree to the shoot, the type of content created and where it may be shared or sold. Don’t treat a casual “sure” as permission for uses you never discussed.
- Pick one primary niche and one supporting niche. Keep the pairing easy to understand, such as natural soles plus macro details, or red polish plus anklets. If you need a paragraph to explain the concept, it’s probably too broad.
- Write down your boundaries. Specify what you will show, what stays private and which requests you won’t accept. Include limits around identifying marks, custom poses, communication, locations and personal items. Decide these before an enquiry puts you on the spot.
- Plan five future sets. Give each one a distinct idea using props and spaces you already have. For example: window light, soft lamplight, a sock sequence, close-up details and a simple footwear set. If five variations feel forced, the niche may not be sustainable.
- Calculate the real cost. Add props, polish, laundry, travel, preparation, shooting, editing, marketplace commission and estimated taxes. Then subtract those costs from the expected sale amount. The remaining figure—not the listed price—is your potential net earning. For a non-commercial project, use this step to set a firm spending budget.
- Create a varied shot list. Include wide views, medium framing, close details, different angles and both posed and relaxed images. Mark each planned frame so you don’t finish with 20 near-duplicates.
- Strip out identifying information. Remove location metadata and inspect every image for reflections, mail, work badges, family photographs, street views and recognisable rooms. Check edited exports again rather than assuming the original cleanup carried across.
- Write a literal, accurate description. State the image count, niche, styling, format and notable variations. Don’t claim a pedicure is fresh if it’s chipped, hide heavy retouching or use unrelated tags to attract clicks.
- Set a review date. Choose a specific day two to four weeks after publishing. Review purchases, enquiries, saves, production time and net earnings. If you’re not selling, assess image quality, comfort, privacy and whether you’d genuinely enjoy creating the next five sets.
Start narrow, then let the evidence shape your niche
The strongest micro niche isn’t simply the one that looks popular. It sits where three things overlap: buyers show genuine interest, you’re comfortable producing the content, and you can repeat the process without turning every shoot into an expensive weekend project. Miss any one of those, and the niche usually becomes difficult to sustain.
Start with a small, connected body of work—perhaps four to six sets built around one primary idea and a closely related variation. That’s enough to see whether the concept holds together without locking you into months of the same styling. It also gives potential buyers more than a single set to judge, which matters when your niche depends on consistency.
Keep your privacy limits fixed while you test. A promising enquiry isn’t a reason to reveal your face, identifiable tattoos, home interior or location. Nor should a custom request push you into poses, settings or conversations that make you uneasy. A niche only fits if you can produce it within boundaries you’d be comfortable maintaining six months from now.
Then look at the evidence that affects your earnings. Views, likes and compliments can be encouraging, but they don’t pay for polish, props, editing time or marketplace commission. Completed sales are the clearest signal. Repeat purchases are stronger still, because they suggest the idea has more life than a one-off curiosity.
Judge results in proportion to the work involved. If a simple natural-light set takes 45 minutes and sells three times, that may be more useful than an elaborate spa shoot that takes four hours, requires new props and makes one sale. Revenue alone can hide a poor return. Compare what you earned after costs with the time and effort you actually spent.
Expand only when the numbers give you a reason. That might mean adding a second polish colour, trying a related setting or producing a larger bundle—not buying ten pairs of shoes because one footwear set performed well. Small upgrades keep mistakes affordable.
Honestly, your first choice doesn’t need to become your permanent identity. Treat it as a focused starting point. Protect yourself, produce enough work to learn something meaningful, and let completed purchases—not noise—show you where to go next.